Hi
Today's post is about the two mousse cakes
that I made on Sunday. I'm very happy with how they both turned out which
is a rare occasion which proves that this recipe book is fab! I was
also worried about the cutters I was using as I don't have those circular ring
moulds she suggests so I used cutters that I use for scones or anything that
needs a straight edge or edge with curves. So instead of making 2 3 inch
diameter ones I made 3 of all different sizes and they all turned out well. The
beauty is that it's no bake so changing the time doesn't matter it's just about
setting it for a little while more or less depending on your change. All three
of mine were set in around 1 and 1/2 hours which is super super quick. I was
very surprised cos they usually say chill for a couple of hours or even 6-8
hours!!!
I'm very fussy when it comes to biscuit bases,
they have to be thick and dense. I hate it when it's so thin that you can
barely see a layer and its all crumbly. I like the crunchy biscuit layer
against the creamy mousse/cheesecake so I had a thinner layer of mousse to up
the ratio ;). Does that bother you?!

See, nice thick base :D
So anyway I made two different ones: rocky
road mousse cake that had a digestive biscuit layer and a rich chocolate mousse
that had a chocolate crispy layer. I'm not sure if I just made them slightly
differently but I got two different textures. Personally I liked both the rocky
road was genuinely a mousse, light and melt in the mouth... Yum :D and the
other one was more like a truffle so denser and thick but also melt in the mouth.


Previously I have always used gelatin in powder sachets but this time I tried
leaf gelatin instead because every time I've used the powder they've always
been unsuccessful hunh ~~~ but now I'm totally converted. Leaf gelatin all the
way!!! It works great and easily too which is why I guess it's a bit more
expensive. Plus I think they look really nice, the ones I bought had a little
pattern on it that looks like those windows with a lattice patten on it. Then
where the lines meet there's a little 3D dot, intricate detailing right?!
Also, this was the first time where I used these ring moulds, set them and when the mousse was set, I had to remove the ring. In the book she says to use a hairdryer, the hot hair coming out of the hairdryer causes the mousse to melt slightly which loosens it from the mould as it is no longer stuck to the sides. Therefore, releasing it should be easy. It took roughly a minute, moving the hairdryer around the entire sides of the mould and the cake slipped off with ease. I thought it would melt so much that it would lose its shape but it didn't. You just see the top melt a tiny amount and then it'll work, if not keep heating. Make sure to return it to the fridge so it can set again and retain its shape. Any chocolate decorations you want, you could make them now and chill in the fridge as well.
Ingredients for Chocolate Crisp Mousse Cake
Crisp cake base: 30g unsalted butter
30g chocolate
45g crisp
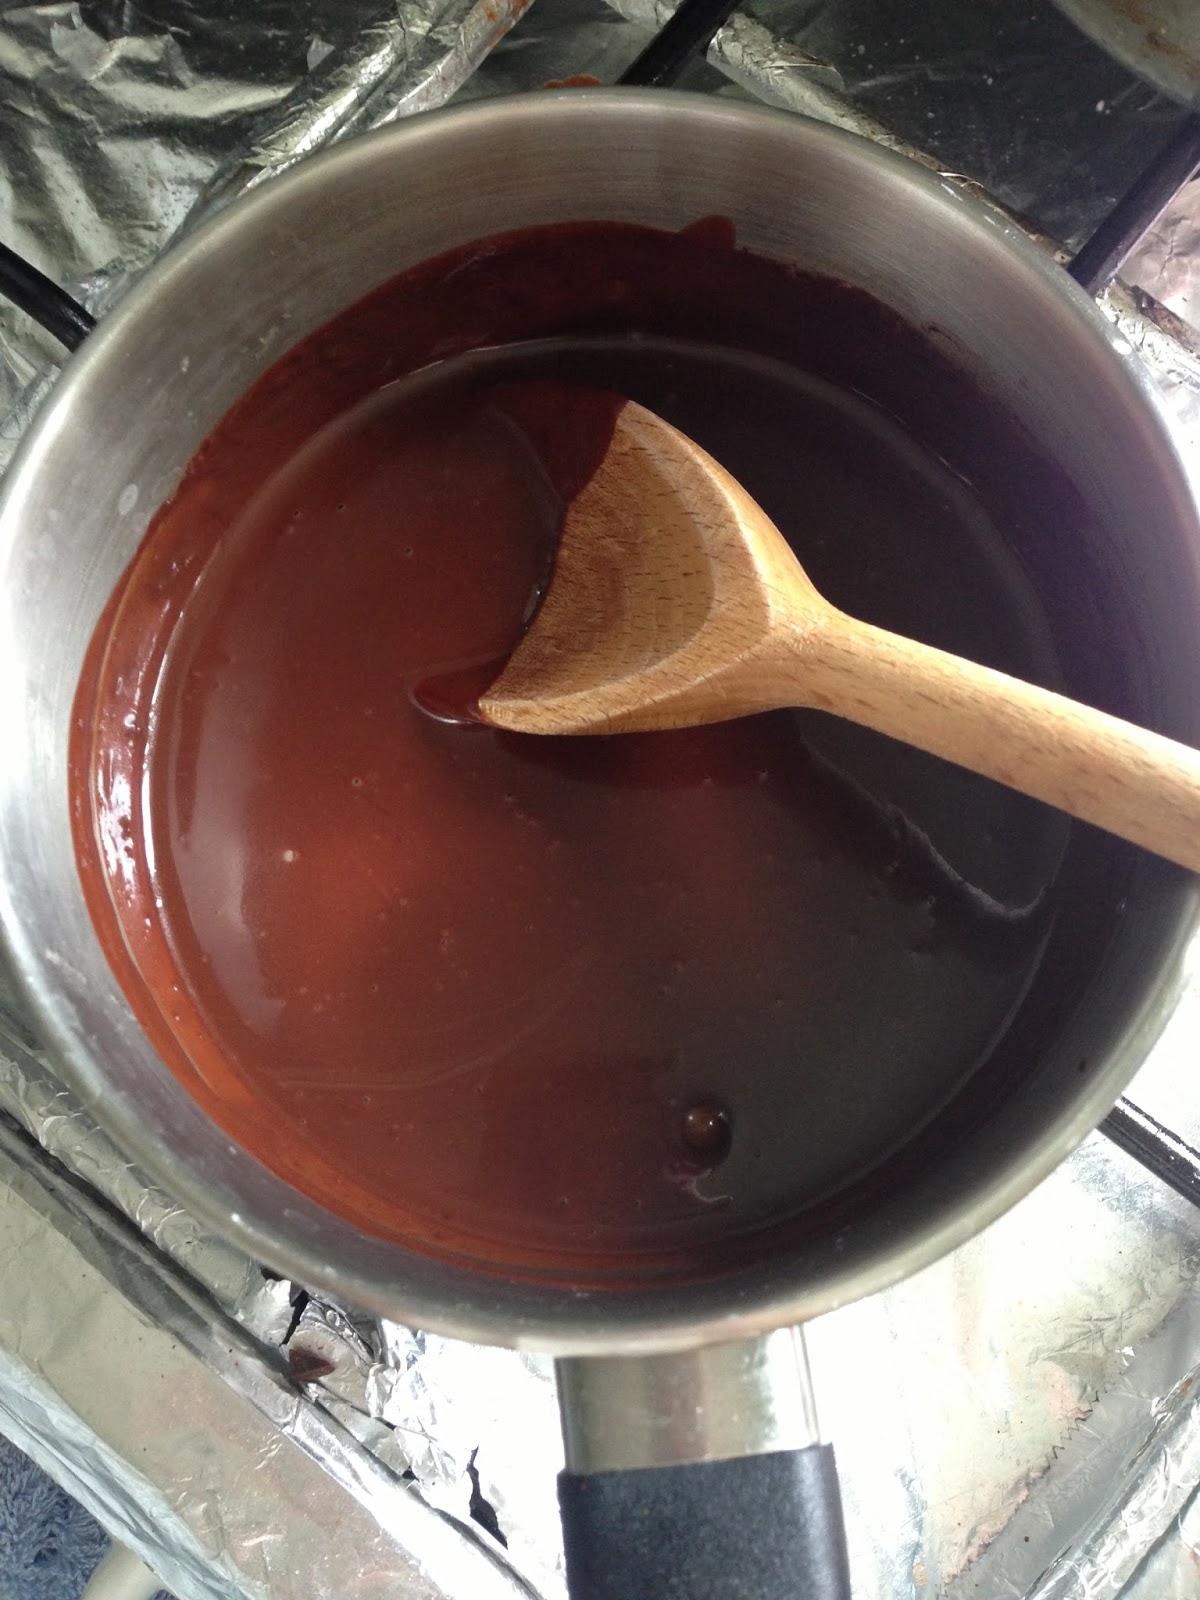
Chocolate mousse: 100ml double cream
100g milk
100g dark chocolate
5g gelatin leaf (soaked in water until tender) - follow the instructions
2
3inch diameter heart rings are used as moulds but it’s up to you what shape and
size, so long as you use up the mixture ;)
Method
2. Scoop
into the base of the moulds and compress with a small spoon. Make sure you
press firm enough so that the base will hold its shape when it sets.

Ingredients
for the Rocky Road Mousse Cake (2 3.5 inch circular moulds are recommended)
Digestive
biscuit base: 30g Digestive biscuits (I used 8 biscuits)
25g
unsalted butter melted and cooled
Rocky
Road mousse: 200ml double cream
1 tbsp
caster sugar
50g chocolate
5g leaf
gelatin soaked in water until tender
2 tbsp
hot water
Mini
marshmallows for the mousse and decoration
Whole
almonds for the mousse and decoration
Chocolate
chips
Method

5.
Spoon
the mousse mixture into the moulds and chill in the fridge.
6. Once
the mousse is set, remove from the mould and decorate with mini marshmallows,
almonds and chocolate chips and return to fridge to set further.
Serve
when set and eat immediately :D Hope you liked the posts!!! My next
upcoming posts will be an ulzzang inspired make up look, some cute
outfit pieces I bought in Hong Kong plus a review on Etude House's Sweet
Recipe choux base which I have been using for ages now and you'll find
out why.
Thanks for stopping by <3
Mmm... that looks amazing, I love Rocky Road :)
ReplyDelete