Showing posts with label dessert. Show all posts

Sunday, 6 October 2013

Chocolate Raspberry molten cakes

*10*

Hi everyone, how has your week been? I was going to use this post to show my clothes on myself, the part two, but I decided to do a recipe and alternate. So I hope that's okay and I'll post a quick beauty post on two masks I've been using early next week and then I'll get back to the clothes post. I hope by doing this you won't get bored as easily as there's more variety.

So this is a very simple recipe which I added my own twist to.

As the days get colder and we near winter, there are few things more comforting in the evening than a warm dessert and I’m sure most of us would be united in our love for warm chocolate puddings. The chocolate molten cake is a moist chocolate sponge hiding inside, a rich velvety liquid chocolate centre. My twist on this dessert is a handful of raspberries in the batter so you get soft, juicy raspberry jewels within the chocolate sponge as well as topping it with a raspberry sauce. This decadent dessert marries well with raspberries, as the tartness balances out the sweetness of the chocolate whilst the sauce enhances the raspberry flavour and makes each mouthful of the dessert less sticky. Add a scoop of vanilla ice cream to make the dessert even more special or swap the fruit for mango or pear to get your five a day :D This recipe for the basic chocolate cake is by Rachel Khoo and is featured in her recipe book The Little Paris Kitchen

Ingredients (makes 6-8)

170g dark chocolate, finely chopped

170g unsalted butter, cubed

170g light brown sugar

85g plain flour

6 eggs, beaten

For the ramekins: 30g soft butter, 30g unsweetened cocoa butter

For my twist: Raspberries for the batter (amount up to you),

Raspberry sauce: 8 raspberries, 4 tbsp caster sugar, 10 tbsp water

Method

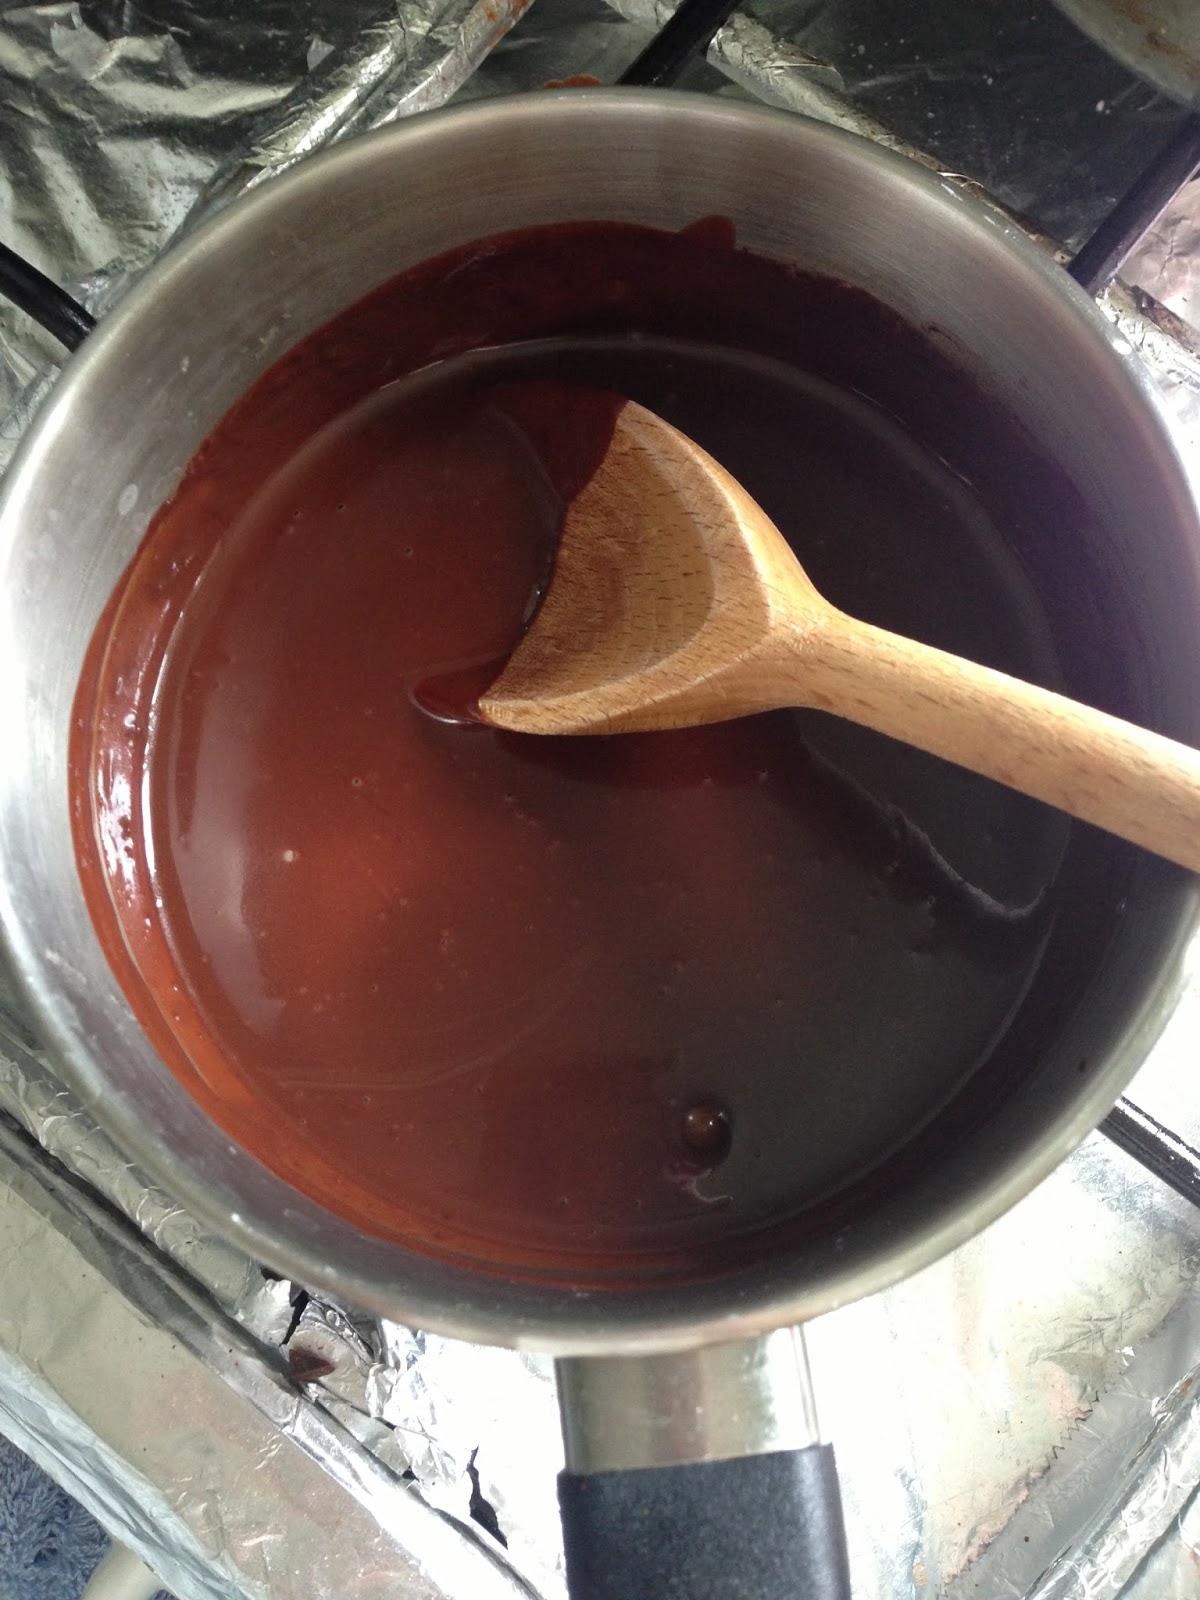
1.       Prepare 6-8 ramekins by brushing them with soft butter and dusting it with cocoa powder, making sure to tap out the excess. Melt the chocolate and butter together in the microwave in rounds of 30 seconds until it’s melted. Mix together until incorporated.


2.       Combine the sugar and the flour in a bowl. Mix the melted chocolate with the eggs followed by the flour and sugar. (If adding raspberries/fruit, add in now). Fold together the fruit and divide the mixture between the ramekins and refrigerate for a minimum of an hour.


3.       Preheat the oven to 180 degrees Celsius/350 degrees Fahrenheit/Gas mark 4. Bake the cakes for 15-20 mins, so the edge is firm but centre is runny. Insert a skewer and it’ll be wet. Leave to rest for 2 mins and turn out onto a plate.


To make my raspberry sauce

1.       Add the raspberries, sugar and water together in a small saucepan and heat over medium heat, swirling the pan often to prevent the sugar burning.


2.       Once the sugar has dissolved, keep it simmering for a further 10mins over low heat. Let it cool, it will thicken as it cools but if you would prefer the sauce thinner and find it too thick, put it back on the heat and add more water.

To serve: Spoon over the raspberry sauce, top with more fresh raspberries and add whipped cream or drizzle cream over the cake. Break the cake and let the chocolate liquid pour out…


TIPS: Dusting and buttering the ramekins makes it easier for the cakes to slip out

Pour the hot melted chocolate into the eggs slowly so you don’t scramble the eggs as this bridges the gap between the two temperatures

Avoid over mixing to bring the batter together as you’ll make it more liquid, causing it need to bake for longer and result in a less firm sponge and lack of rise.
 
Hope you like it and try it out!!! Thanks for reading
 
Follow me on instagram @mylittlebitofheaven to get more updates, I'm starting to do my short videos on there as well if that's tempting


Sunday, 15 September 2013

Rocky Road Mousse Cake and Chocolate Crisp mousse cake

*8*

Hi 

Today's post is about the two mousse cakes that I made on Sunday.  I'm very happy with how they both turned out which is a rare occasion which proves that this recipe book is fab!  I was also worried about the cutters I was using as I don't have those circular ring moulds she suggests so I used cutters that I use for scones or anything that needs a straight edge or edge with curves. So instead of making 2 3 inch diameter ones I made 3 of all different sizes and they all turned out well. The beauty is that it's no bake so changing the time doesn't matter it's just about setting it for a little while more or less depending on your change. All three of mine were set in around 1 and 1/2 hours which is super super quick. I was very surprised cos they usually say chill for a couple of hours or even 6-8 hours!!! 

I'm very fussy when it comes to biscuit bases, they have to be thick and dense. I hate it when it's so thin that you can barely see a layer and its all crumbly. I like the crunchy biscuit layer against the creamy mousse/cheesecake so I had a thinner layer of mousse to up the ratio ;). Does that bother you?! 

 See, nice thick base :D

So anyway I made two different ones: rocky road mousse cake that had a digestive biscuit layer and a rich chocolate mousse that had a chocolate crispy layer. I'm not sure if I just made them slightly differently but I got two different textures. Personally I liked both the rocky road was genuinely a mousse, light and melt in the mouth... Yum :D and the other one was more like a truffle so denser and thick but also melt in the mouth. 


Previously I have always used gelatin in powder sachets but this time I tried leaf gelatin instead because every time I've used the powder they've always been unsuccessful hunh ~~~ but now I'm totally converted. Leaf gelatin all the way!!! It works great and easily too which is why I guess it's a bit more expensive. Plus I think they look really nice, the ones I bought had a little pattern on it that looks like those windows with a lattice patten on it. Then where the lines meet there's a little 3D dot, intricate detailing right?! 

Also, this was the first time where I used these ring moulds, set them and when the mousse was set, I had to remove the ring. In the book she says to use a hairdryer, the hot hair coming out of the hairdryer causes the mousse to melt slightly which loosens it from the mould as it is no longer stuck to the sides. Therefore, releasing it should be easy. It took roughly a minute, moving the hairdryer around the entire sides of the mould and the cake slipped off with ease. I thought it would melt so much that it would lose its shape but it didn't. You just see the top melt a tiny amount and then it'll work, if not keep heating. Make sure to return it to the fridge so it can set again and retain its shape. Any chocolate decorations you want, you could make them now and chill in the fridge as well.  

Ingredients for Chocolate Crisp Mousse Cake

Crisp cake base: 30g unsalted butter
                             30g chocolate
                             45g crisp
Chocolate mousse: 100ml double cream
                                100g milk
                                100g dark chocolate
                                 5g gelatin leaf (soaked in water until tender) - follow the instructions 
                                  

2 3inch diameter heart rings are used as moulds but it’s up to you what shape and size, so long as you use up the mixture ;)

Method

1. Melt together the chocolate and butter in a microwave or in a hot water bath, then slowly add to the crisps until you have the desired texture. 

2. Scoop into the base of the moulds and compress with a small spoon. Make sure you press firm enough so that the base will hold its shape when it sets.


3. Beat the cream with an electric whisk until stiff, set aside. 

4. Warm the milk in a small saucepan over low heat, once warm, switch off heat and add the dark chocolate, stirring until smooth. Add the gelatin to the chocolate milk mixture and mix till it has dissolved. Leave to cool.


5. Add the chocolate to the whipped cream and mix using a spatula. Spoon the mixture into the mould and chill in the fridge. 

6. Once set, using the hairdryer method, heat up the mould. Lift the mould up slightly and see if the cake will come off easily but don’t remove it. If it does keep the mould on and sift cocoa powder on top then remove the mould. If not, keep heating the sides. Place back in the fridge. 


    Ingredients for the Rocky Road Mousse Cake (2 3.5 inch circular moulds are recommended)

Digestive biscuit base: 30g Digestive biscuits (I used 8 biscuits)
                                        25g unsalted butter melted and cooled

Rocky Road mousse: 200ml double cream
                                      1 tbsp caster sugar
                                      50g chocolate
                                      5g leaf gelatin soaked in water until tender
                                      2 tbsp hot water
                                      Mini marshmallows for the mousse and decoration
                                      Whole almonds for the mousse and decoration
                                      Chocolate chips

Method

1.     Add the butter slowly to the biscuit crumbs until the texture resembles wet sand, if it isn’t we enough, add more butter. Spoon into the moulds and press down using a small spoon.
 
2.   Whip the cream until almost stiff, add the sugar and whip until stiff. Set aside.


3.      Warm the chocolate in the microwave/hot water bath until melted. Leave to cool and once done so, add to the cream. Mix together. 

4.     Dissolve the gelatin in the hot water and then add the gelatin solution to the chocolate cream, mix well using a spatula. Add the marshmallows, almonds and chocolate chips (chopped to sizes of your preference) and stir 

5.   Spoon the mousse mixture into the moulds and chill in the fridge. 

6. Once the mousse is set, remove from the mould and decorate with mini marshmallows, almonds and chocolate chips and return to fridge to set further.


Serve when set and eat immediately :D Hope you liked the posts!!! My next upcoming posts will be an ulzzang inspired make up look, some cute outfit pieces I bought in Hong Kong plus a review on Etude House's Sweet Recipe choux base which I have been using for ages now and you'll find out why.

Thanks for stopping by <3

Follow me on instagram @mylittlebitofheaven to keep updated!